
MarketingPlatform: Add a Custom Return-Path
This article helps you set up a custom return-path in the Domain Checker area of MarketingPlatform.
Prerequisites: Before setting up a return-path, you must have configured SPF and DKIM for your domain in MarketingPlatform. If you haven’t done this yet, you can follow our step-by-step guide here.
What is a return-path, and why is it important?
A return-path (also called bounce address or MAIL FROM address) is necessary to be fully DMARC-compliant. When you set up a custom return-path:
Your email delivery history is tied directly to your domain.
It helps you maintain a good sender reputation.
Reduces the likelihood of your emails being marked as spam.
How to add a custom return-path
Go to Domain Checker in MarketingPlatform.
Click the info icon next to your domain. If a return-path hasn’t been set up yet, you will see an setup window.
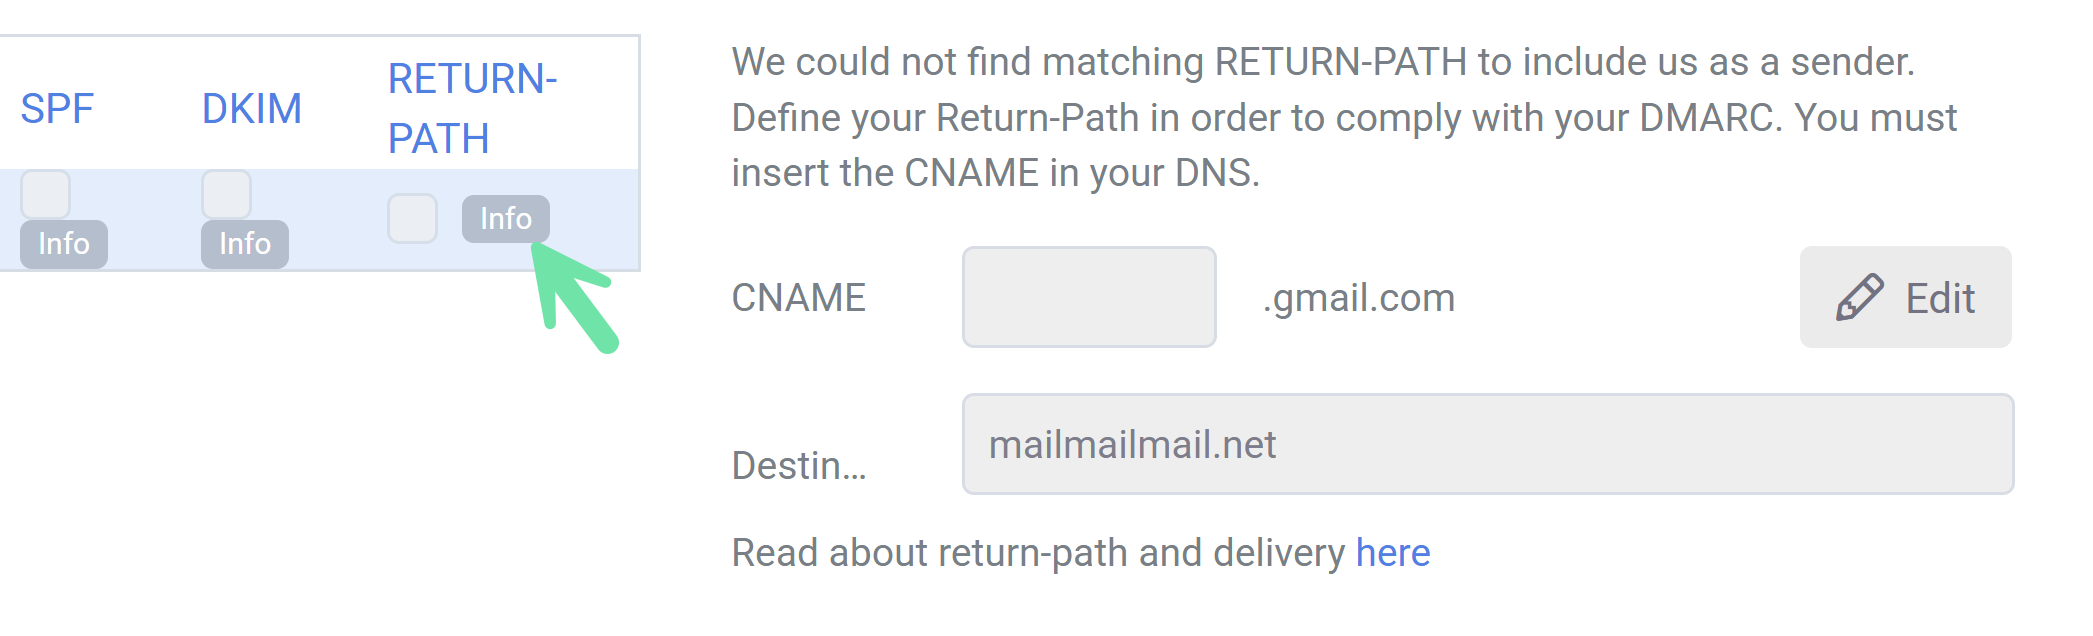
Choose an address and a subdomain for your return-path.
Create a new CNAME record in your DNS management:
Add the subdomain, e.g.
mail.yourdomain.no.Copy the destination value from MarketingPlatform and paste it into the CNAME record.
Wait for DNS propagation – this can take from a few minutes to several hours, depending on your TTL (Time to Live).
A low TTL value (e.g., 10 minutes) can help with faster propagation, but remember to set it back afterwards.
When MarketingPlatform detects and validates your CNAME entry, yourcustom return-path will be used for email sends from your domain.
How to verify that the return-path is working?
After the return-path is active, you can inspect a sent email to see it in use. You will see something like this in the email header:
Return-Path:
<return-info-johnsmith=gmail.com@email.yourdomain.no>